Using Liquid Silicone Oil as a Release Agent in Rubber Molding
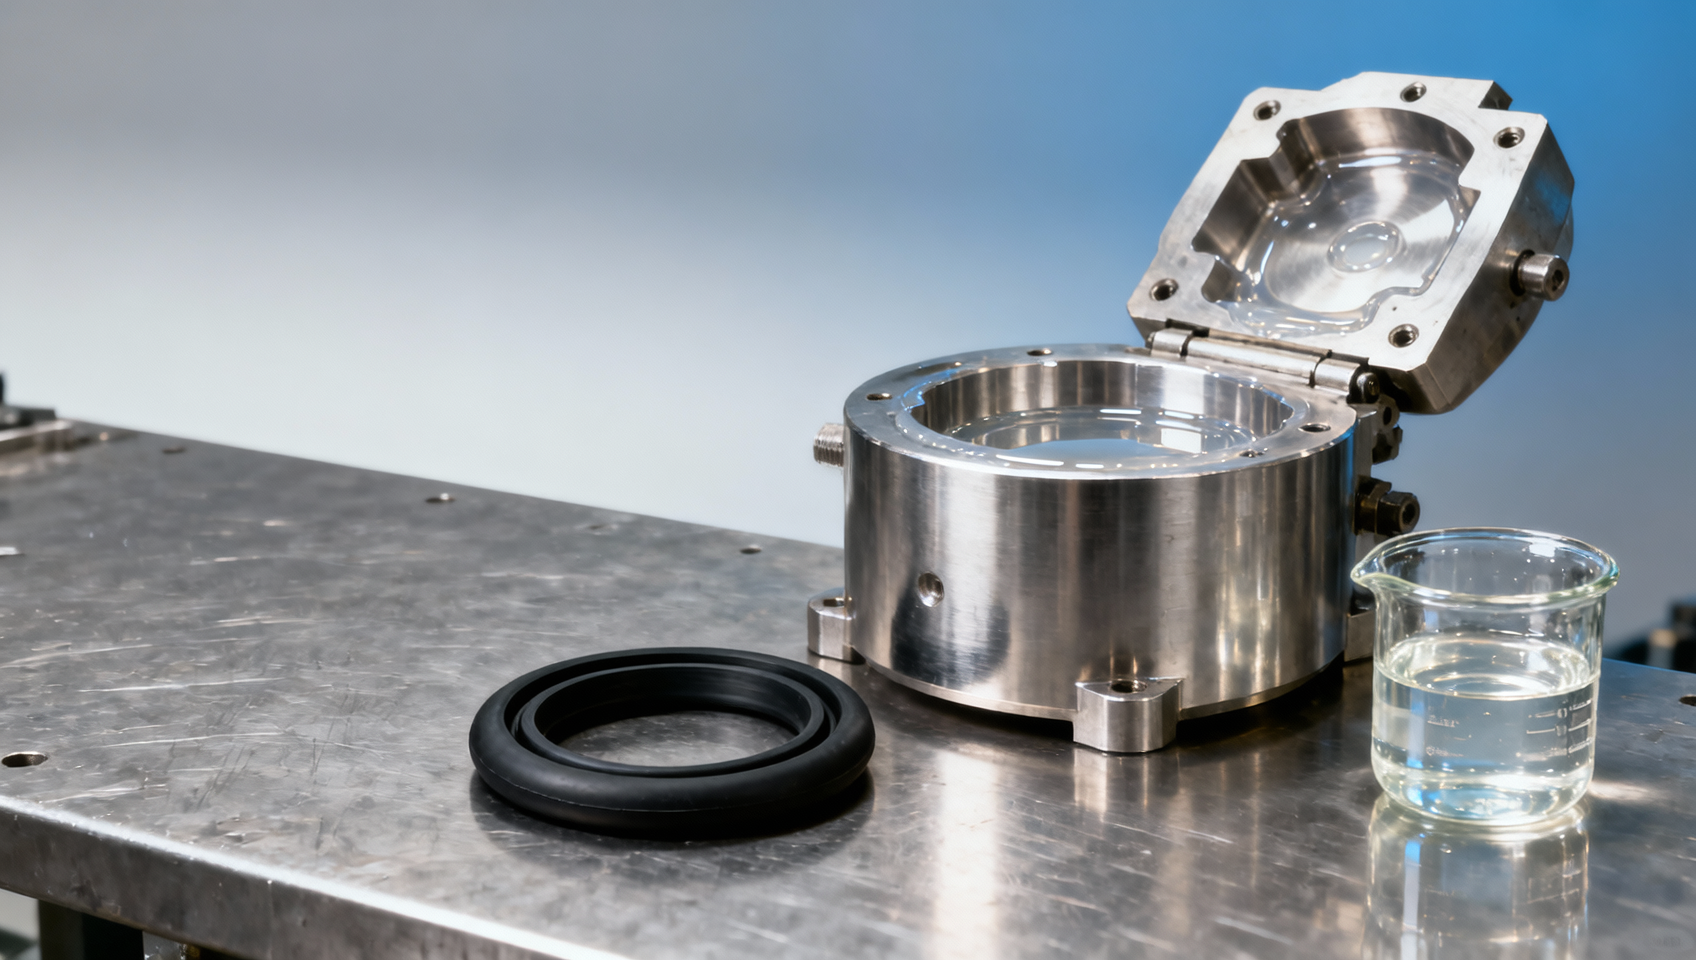
Apply liquid silicone oil as a thin, uniform film on a clean mold, then confirm that the rubber releases cleanly without leaving an oily surface. Adding more oil whenever a part sticks often creates a second problem: residue accumulates while the original cause, such as incomplete cure or a damaged cavity, remains unresolved. Reliable release requires matching the oil grade and application method to the rubber compound, molding temperature, and finished part requirements.
Before introducing silicone into a molding process, establish whether the part will later be bonded, painted, printed, or coated. Silicone transferred during demolding can interfere with these operations even when the surface looks clean. Where adhesion is essential, qualify the complete process through the final operation before approving a silicone-based release agent.
Confirm that silicone release fits the rubber and the finished part
Liquid silicone oil commonly refers to a fluid based on polydimethylsiloxane, or PDMS. Its low surface tension supports spreading, while the resulting film reduces direct contact between the rubber and mold surface. However, a neat silicone fluid and a formulated silicone release agent are different materials. A formulated product can contain carriers, emulsifiers, or other ingredients that change wetting, drying, residue, and handling behavior.
The rubber family alone does not establish compatibility. Fillers, plasticizers, processing aids, and curing ingredients affect how a compound interacts with the release film. An oil that works with one EPDM formulation may produce a different surface appearance or release interval with another. Trials should therefore use the actual production compound and cure cycle.
Silicone rubber deserves particular attention because silicone fluids can have affinity for the cured material. Depending on the formulation and exposure, the oil can transfer, migrate, or contribute to swelling. For platinum-cured silicone, assess the full release formulation for cure compatibility; additives and contaminants require attention alongside the base fluid.
Mechanical conditions also set limits. Deep undercuts, insufficient draft, rough cavities, and poor venting can cause tearing despite adequate lubrication. If a part consistently fails at the same sharp corner, inspect that location before increasing the application rate. A release film cannot correct a geometry that mechanically locks the cured part into the mold.
Select the grade using operating conditions
Viscosity describes flow behavior, not overall release performance. Lower-viscosity oils spread and wipe more readily, but can also run away from vertical surfaces or collect at low points. Higher-viscosity oils resist drainage, yet are harder to distribute into a very thin layer and can leave localized deposits. Compare viscosity values at the same stated temperature; the oil also becomes less viscous on a hot tool.
Choose within the release product supplier’s recommended range for the intended molding conditions. A useful starting grade permits controlled coverage of the cavity without pooling in ribs, lettering, or vent entrances. Selecting the thickest available oil because it appears more durable often makes application less repeatable.
Do not use flash point as a substitute for maximum service temperature. Flash point describes a specific ignition-related property under defined test conditions; it does not establish how long a release film will remain effective on a hot mold. Use application-specific temperature guidance and observe the film over repeated cycles.
Material identity also matters when chemicals share storage or dispensing areas. Olivetol CAS#500-66-3 is a solid organic intermediate, chemically distinct from silicone oil, and has no established release-agent role in this process. Confirm the product identity and technical documentation before filling a release applicator.
Build a controlled film on a clean cavity
Begin with the mold in a condition that makes the trial interpretable. Remove previous release deposits, rubber residue, and cleaning-agent traces using a method compatible with the tool material and surface treatment. Avoid abrasive cleaning that changes cavity texture or rounds fine details. If deposits remain, a fresh oil layer can temporarily hide them while continuing to reproduce marks on the molded surface.
For water-based products, follow the specified mixing procedure and use only the recommended dilution water and ratio. Excess dilution changes the amount of active silicone delivered with each pass. Neat silicone oil should not be diluted with water, and improvised solvent dilution introduces additional compatibility, evaporation, and fire concerns.
- Bring the mold to the specified application condition. Some formulations require a warm surface; others require application before heating. Use the product’s instructions and the site’s safe access procedure.
- Apply a measured amount with a suitable wipe, brush, or controlled spray. Cover the cavity evenly, including difficult recesses, while keeping excess material away from vents, parting lines, and surrounding equipment.
- Allow the carrier to evaporate as specified. A neat oil has no carrier to flash off, so waiting alone will not remove an excessive oil layer.
- Inspect for droplets, runs, and pools before molding. Redistribute or remove excess with a clean, compatible applicator, then produce trial parts under the normal cure conditions.
Fine mold details make uneven coverage particularly troublesome. Oil collected in engraved lettering or narrow grooves can transfer as localized gloss patches or contribute to surface defects. With spray application, overlapping passes should produce consistent coverage without repeatedly soaking the same recess.
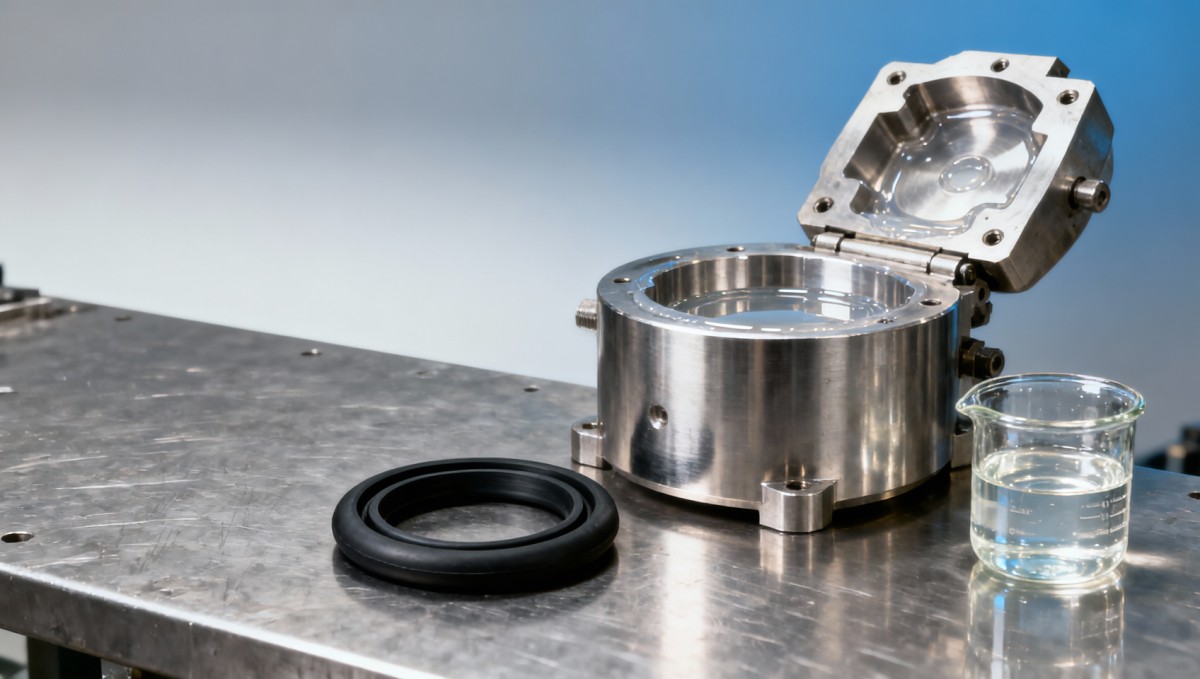
Keep application equipment consistent during trials. Changing the spray nozzle, pressure, distance, and number of passes together makes the delivered amount difficult to reproduce. A dedicated lint-free wipe offers useful control for accessible cavities; spraying reaches complex geometry but requires suitable ventilation and control of airborne mist. Avoid atomizing more material than the process needs.
Release frequency should follow observed film performance. Applying oil before every cycle can progressively overload a mold when enough film remains from previous applications. Conversely, extending the interval until parts tear sacrifices usable parts to identify a limit. Establish a conservative interval from trial results, then refine it while monitoring release effort and surface quality.
Read the defect before changing the dose
Similar-looking failures can have different causes. A torn edge may reflect adhesion to the cavity, insufficient tear strength at demolding, or a mechanical obstruction. Look at where the damage starts, whether the rubber leaves residue behind, and whether the failure follows a specific cavity feature. These observations provide more direction than the general description “poor release.”
Air bubbles, blisters, and incomplete filling also need separate investigation. Residual water or solvent can contribute to gas-related defects if the carrier has not evaporated. Blocked vents, compound moisture, and filling conditions can produce similar symptoms. Restore the intended drying procedure and inspect vent condition before attributing every defect to the silicone itself.
If release improves only briefly after a heavy application, inspect the mold after cleaning. Persistent deposits can create a repeating cycle in which extra oil masks deteriorating surface conditions for a few shots. Record whether cleaning restores stable performance; this helps separate deposit-related problems from inadequate film persistence.
Qualify surface quality beyond demolding
A part that separates easily has passed only one part of the evaluation. Examine the molded surface for oiliness, gloss variation, obscured texture, and residue around edges. Use consistent lighting and compare parts after a defined holding period, since immediate inspection can miss later changes in surface appearance.
For bonded or coated parts, run the actual downstream process on trial samples. Include the planned cleaning, drying, waiting time, adhesive or coating application, and cure. Silicone contamination can cause poor wetting, coating craters, or weak adhesion. An apparently successful solvent wipe does not prove removal; wiping can redistribute contamination across a wider area.
Where silicone transfer prevents acceptable adhesion, evaluate a silicone-free release system or another validated demolding approach. Keep silicone application equipment and contaminated wipes away from bonding preparation areas. Otherwise, overspray or handling can contaminate parts that never directly contacted the treated mold.
Trials should continue long enough to reveal progressive buildup and changes between applications. Record the compound batch, mold identification, cavity temperature, cure time, release grade, application amount or method, and number of cycles since treatment. Change one process variable at a time where practical, so an improvement can be linked to a specific adjustment.
Make the approved method repeatable
Translate the successful trial into a short operating instruction that defines the application tool, coverage method, drying condition, replenishment interval, and signs requiring cleaning. Terms such as “a little oil” leave too much room for variation. A specified spray setting, controlled number of passes, or measured dispensing method provides a more reproducible starting point.
Include observable intervention points: droplets in recesses, rising demolding effort, blocked vents, or unacceptable surface transfer. Handle hot molds through the established machine procedure, maintain ventilation appropriate to the formulation, and remove spills promptly because silicone oil creates slippery surfaces. Reassess the approved settings when the rubber compound, release formulation, mold finish, or cure conditions change.
Related Picks
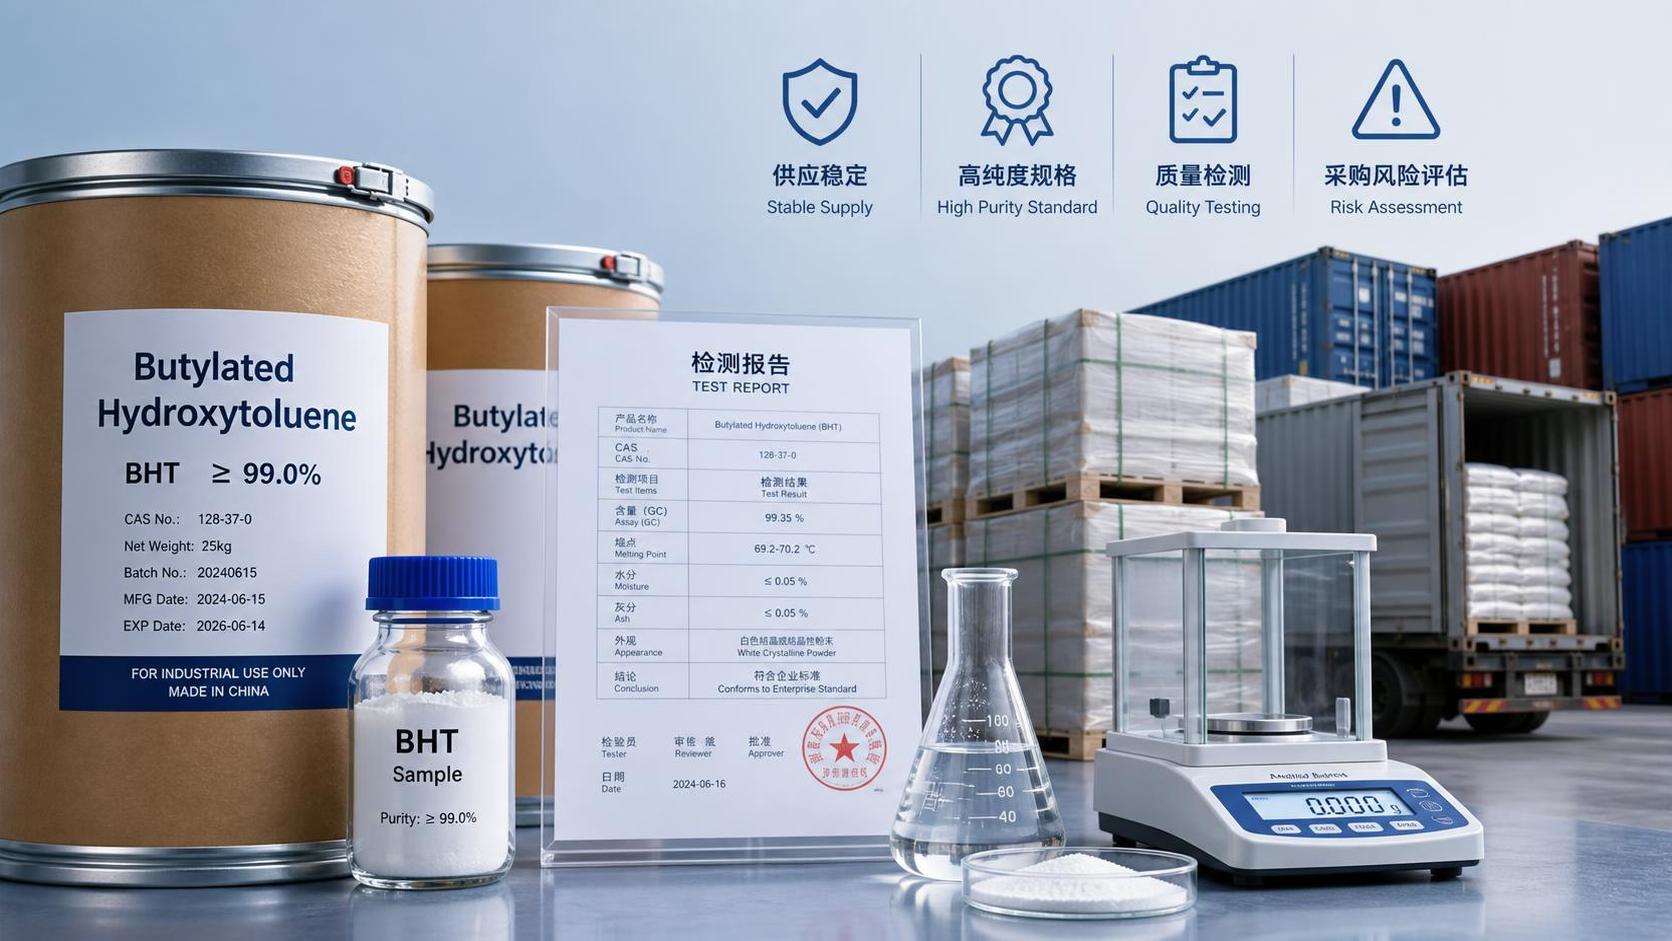
 Butylated Hydroxytoluene Price Drivers: Supply, Purity, and Purchasing Risk FactorsOct 21, 2026Butylated Hydroxytoluene price trends depend on supply stability, purity, logistics, and purchasing risk. Learn how to compare quotes wisely and reduce sourcing costs.
 Sodium Tripolyphosphate Price Trends: Raw Material and Energy ExposureOct 20, 2026Explore sodium tripolyphosphate price trends, from phosphate and soda ash costs to energy exposure. Learn how to compare quotes, manage sourcing risks, and make smarter purchasing decisions.
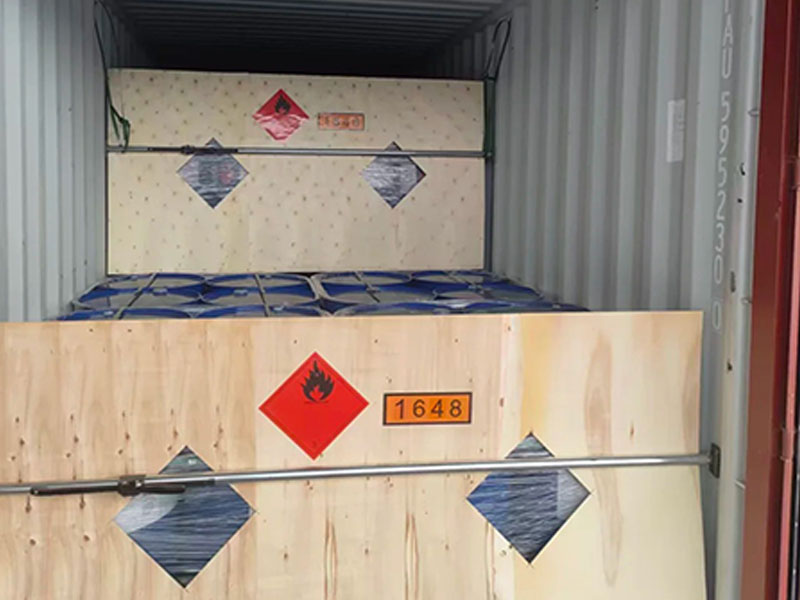
 Acetonitrile Shipment to Vietnam Successfully Dispatched; RCEP Benefits Boost Fine Chemical Trade with ASEANSep 16, 2026A shipment of industrial-grade acetonitrile from our company has recently been loaded and dispatched following the completion of standardized hazardous material packaging and container securing procedures.
 Nigerian Client’s Order of 4 Containers of Vinyl Acetate Successfully Loaded and Shipped to West AfricaSep 16, 2026We recently completed the loading of a vinyl acetate order for a Nigerian client; four containers of the product have been successfully packed and are ready for shipment to Nigeria.

Question Consultation
Send Us Your Inquiry Today

Luxi Chemical is a professional chemical product supplier with ample stock of all chemical categories and excellent quality, welcome your purchase inquiry.